Stage Editor Basics
Learn the drag-and-drop editor - placing targets, walls, barriers, and props to build a complete stage layout.
The Editor Interface
The stage editor is your main workspace for designing shooting stages. When you open the editor, you will see a canvas in the center, a prop library on the left with draggable elements, a tool menu on the top, and a series of tabbed pages for stage details, GPA par calculations, and editor settings.
The canvas represents your stage area. You can resize it using the width and height fields in the right panel on the settings tab, and set the scale in yards to match the real-world dimensions of your bay.
Placing Targets
Drag targets from the toolbar onto the canvas. The editor supports several target types depending on your scoring format:
- Threats - Standard GPA/IDPA/USPSA silhouette targets.
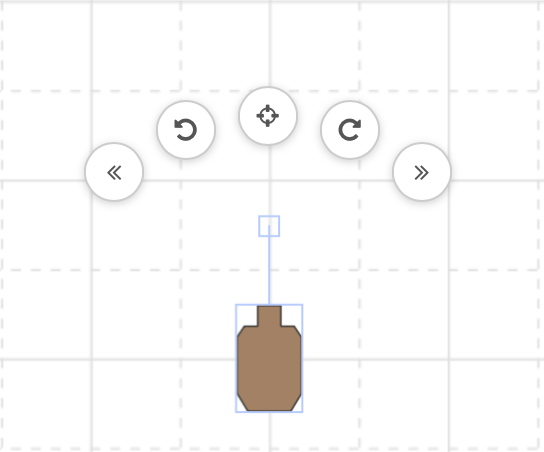
- Click on a target to select it and bring up the settings arc for the target (perspective L/R, rotate L/R, center)
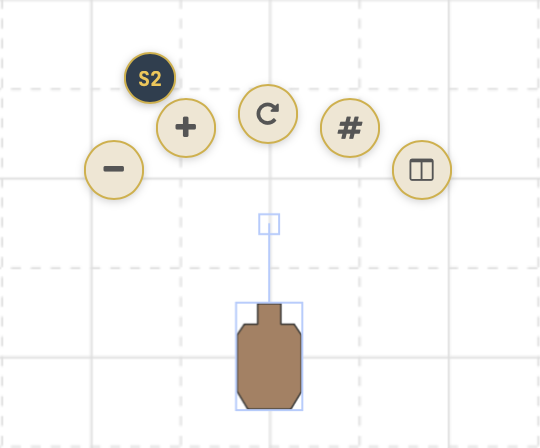
- After selecting, hold shift to get to the secondary settings (Shots required -/+, cycle target hardcover, Toggle target number, toggle stand
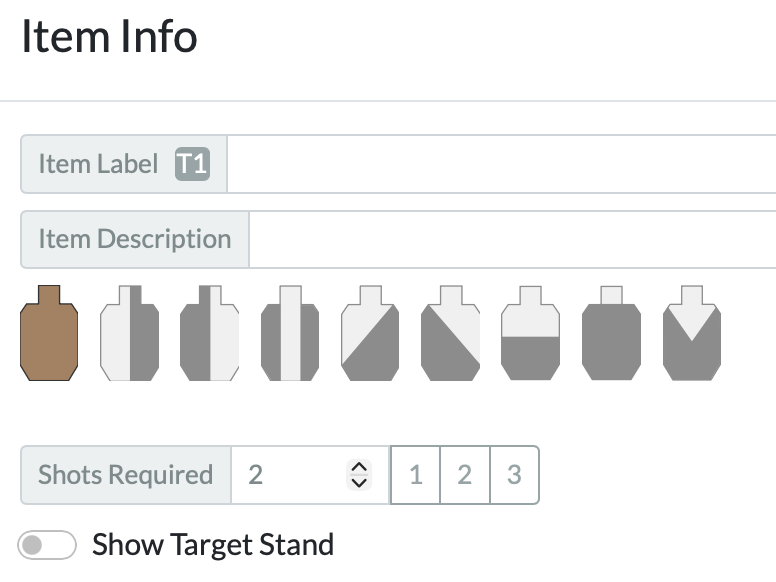
- Double click for all the settings in a modal
- Steel targets - Steel plates. These always count as 1 shot required.
- Texas Star - Five-plate star arrays. These count as 5 shots required.
When you add or remove targets, or change the shots required, the target count and round count in the right panel update automatically. You do not need to manually enter those numbers.
Walls and Cover/fault lines
Walls are the most common structural element. Drag a wall segment on to the canvas to place a wall. Use Q and E to rotate the wall. Walls use a textured fill pattern so they are visually distinct from other shapes.
For fault lines, use the line drawing tool (and color selector if desired). If you hold shift, a new line start will begin exactly where the previous one ended. This makes it super simple to make USPSA shooting areas. Press 'esc' to cancel a line in progress.
Using Other Props
The toolbar includes a collection of common stage props - barrels, tables, and other objects you might find on a real stage. Drag them onto the canvas and position them where you need them.
You can resize and rotate props using the handles that appear when you select them. Hold Shift while rotating to snap to 15-degree increments.
Drawing Shapes and Text
The rectangle tool lets you draw freeform rectangular areas on the canvas. These are useful for marking shooting boxes, wall ports, safe areas, or other zones.
Use the text tool to add labels, notes, or instructions directly on the stage layout. Click the canvas where you want the text, then type.
The Right Panel
The right panel is where you configure everything about your stage beyond the layout itself:
- Stage name - Give your stage a descriptive name.
- Scoring type - Select unlimited, limited, etc.
- Start position - Describe where the shooter starts (e.g., "Standing at P1, hands at sides").
- Scenario - Optional narrative text for the stage briefing.
- Procedure - Write the course of fire instructions the shooter will follow.
- Strings - Number of strings of fire.
Grid and Snapping
Toggle the grid overlay using the grid button in the toolbar. When snap-to-grid is enabled, objects will align to the grid lines as you drag them, making it easier to create clean, aligned layouts.
You can also use the distance markers toggle to show yard markers across the canvas. These appear every 3 yards and update automatically if you resize the canvas or change the yard scale.
Selecting and Editing Objects
Click any object on the canvas to select it. Selected objects show handles for moving, resizing (if permitted), and rotating. You can also select multiple objects by clicking and dragging a selection box around them.
Double-click any object to open its property editor, where you can fine-tune target hard cover and type-specific settings like shot count for targets.
Right-click any object to open the context menu with options for deleting, layering (bring to front, send to back), and other actions.
Target Stands
The editor can display target stands behind your targets for a more realistic look. Use the "Stands" toggle button to turn them on or off. The stands automatically position themselves behind each target and include a perspective warp effect so they look natural on the stage layout.
Keyboard Shortcuts
- Delete / Backspace - Remove selected objects
- Ctrl+A - Select all objects
- Ctrl+C / Ctrl+V - Copy and paste selected objects
- Ctrl+Z - Undo
Saving and Versions
Click the Save button to save your stage. Every time you Save, the editor creates a version snapshot of your current layout. You can view your version history, restore a previous version, or create a new stage from any version using the history modal.
The editor keeps up to 10 versions per stage. Older versions are automatically removed as new ones are created. The published version (see below) is pinned and never pruned, even if it falls outside the 10-version window.
Publishing
The Publish button saves your stage and pins the current version as the "published" version. Save is for your personal working state - what you see when you open the stage. Publish controls what other people see when they view your stage in a match book they don't own, or as a club partner. They always see the published snapshot, never your in-progress saves.
If you've made changes since your last publish, a small gold dot appears in the corner of the Publish button. This means the published version (what others see) is older than your current saved state. Click Publish to bring it up to date.
Sharing Your Stage
By default, stages are private and only visible to you. To share a stage with the community, go to the settings tab and enable "Shared". Shared stages appear in the Community tab for all users to view and copy.
The very first time you toggle Shared on for a stage that has never been published, the save will automatically Publish so there's an official version for the community to see. After that, the Shared toggle just rides your normal Save - you control when to push a fresh published snapshot via the Publish button.
If you are part of a club, your stages can also be viewed by club members through the Club Stages tab on the stage library (and edited by club members if you choose). Club members see the published version unless they're the original creator.